
🎁 7 Cozy DIY Christmas Crafts to Make Your Home Feel Extra Festive
There’s something magical about decorating your home for Christmas — especially when you’ve made the decorations yourself! ✨ Whether you’re creating ornaments, wrapping gifts, or designing centerpieces, these DIY Christmas crafts will fill your space with warmth, creativity, and holiday cheer. The best part? You don’t need to spend a fortune. Most of these ideas use materials you already have at home or can find affordably online
CHRISTMAS DÉCOR
11/4/20255 min read
Salt dough is a classic for a reason. It's safe, affordable, and easy to work with—perfect for a family activity!
What You Need:
1 cup flour
1/2 cup salt
1/2 cup water
Cookie cutters
Straw or toothpick (for making a hole)
Paint and glitter (optional)
The How-To:
Mix the flour, salt, and water in a bowl until a firm dough forms. Knead it for about 5 minutes.
Roll the dough out to about 1/4 inch thickness. Use your cookie cutters to cut out shapes (stars, trees, gingerbread people).
Use the straw to punch a hole at the top of each shape for hanging.
Bake at 250°F (120°C) for 2-3 hours, or until completely hardened.
Once cool, decorate! Use acrylic paint, cover them in glitter, or simply leave them naturally white. Thread a festive ribbon through the hole to hang them on your tree.
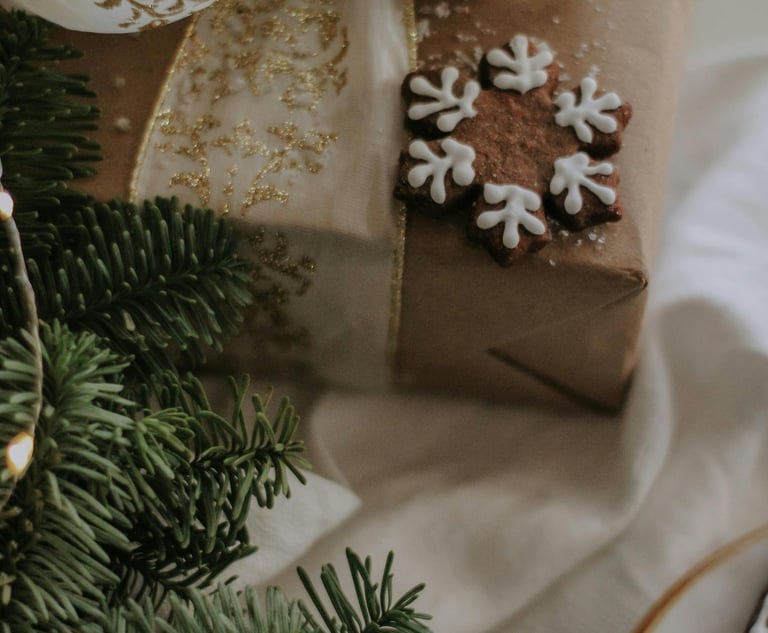
1. Simple Salt Dough Ornaments
Bring a tiny winter wonderland to your mantelpiece or desk with these charming snow globes.
What You Need:
Small mason jars with tight-fitting lids
Small plastic or ceramic figurines (mini trees, deer, snowmen)
Glycerin (optional, helps the glitter fall slower)
Distilled water
Waterproof glue (super glue or epoxy)
Glitter (extra fine works best!)
The How-To:
Use the waterproof glue to secure your figurine to the inside center of the jar lid. Let it dry completely—this is crucial!
Fill the jar almost to the top with distilled water.
Add 1-2 teaspoons of glitter. If using glycerin, add a few drops to help the "snow" fall slowly.
Screw the lid (with the dried figurine) onto the jar tightly. You may want to add a thin line of glue around the rim before closing for a permanent seal.
Flip it over, shake, and enjoy your tiny, sparkling scene!
🌿 2. Miniature Mason Jar Snow Globes


Collect some fallen twigs on your next walk and turn them into a minimalist, rustic holiday wall display.
What You Need:
5-7 straight twigs of varying lengths (from short to long)
Twine
Scissors
Small ornaments or beads (optional)
The How-To:
Arrange the twigs from longest at the bottom to shortest at the top, forming a tree shape.
Cut a long length of twine. Tie one end securely to the far-left end of the top (shortest) twig.
Measure and guide the twine down to the next twig, ensuring the vertical spacing is even, and tie it securely to the left end of that twig.
Repeat this process until all twigs are connected down the left side.
Repeat the entire tying process for the right side, starting again from the top twig. This creates a ladder-like structure that holds the tree shape together. Hang with the excess twine at the top.
🎄 3. Twig Christmas Tree Wall Hanging


Handmade gifts always feel more thoughtful, and this sugar scrub is easy to make and smells incredible! It's the ideal treat for dry winter skin.
What You Need:
1 cup granulated sugar
1/2 cup coconut oil (melted)
5-10 drops of peppermint essential oil
Pinch of red food coloring (optional, for a festive swirl)
Small jars with lids
The How-To:
In a bowl, combine the sugar and melted coconut oil. Stir until fully mixed.
Add the peppermint essential oil and stir again.
(Optional) Split the mixture into two bowls. Add a tiny drop of red food coloring to one bowl and mix. Layer the red and white scrubs into your jar for a candy cane effect.
Seal the jar and decorate it with a simple ribbon or a handmade tag. Store in a cool, dark place
✂️ 4. DIY Peppermint Sugar Scrub (Perfect Gift!)

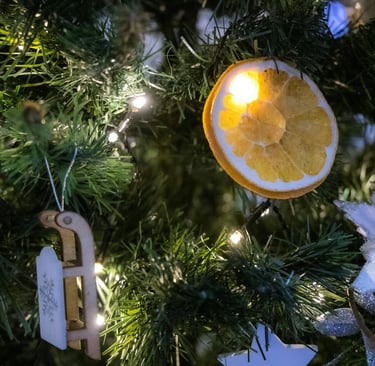
This is a stunning, easy, and vintage-inspired decoration that looks beautiful strung across a window or fireplace.
What You Need:
3-4 Navel or blood oranges
Twine or thin wire
Baking sheet and parchment paper
The How-To:
Preheat your oven to 200°F (95°C).
Slice the oranges about 1/4 inch thick. Pat them dry with paper towels to remove excess juice.
Place slices on a parchment-lined baking sheet.
Bake for 3-5 hours, flipping them every hour, until the slices are dry and the centers are translucent (they shouldn't be mushy).
Once cool, use a needle to carefully thread twine or thin wire through the tops of the slices, alternating with small pinecones or beads if desired.
🎁 5. Dried Orange Slice Garland

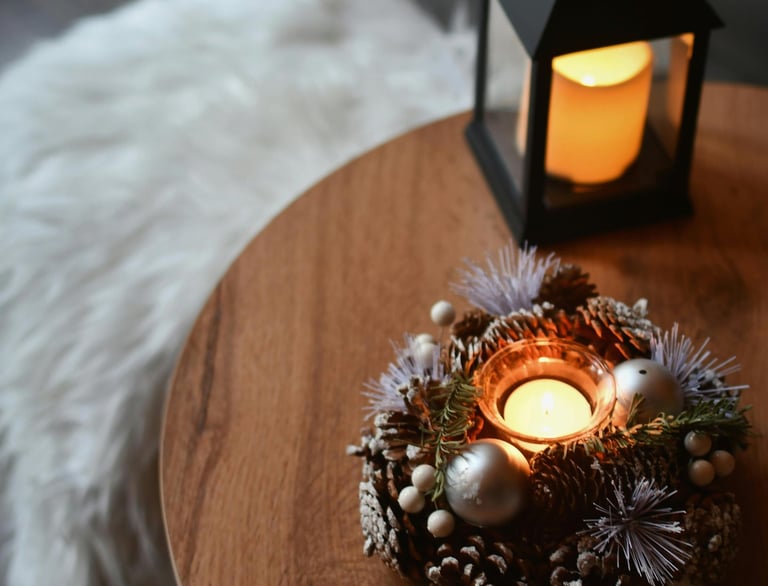
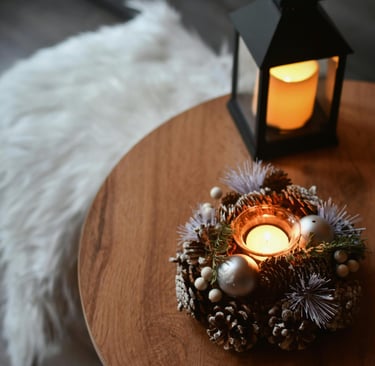
These simple, beautiful pinecones look like they were just brought in from a fresh snowfall and make elegant filler for bowls and garlands.
What You Need:
Pinecones (foraged and cleaned)
White acrylic paint
Epsom salt or fine white glitter
Small bowl
Paintbrush (or an old toothbrush)
Water (to thin the paint)
The How-To:
Mix a small amount of white acrylic paint with a few drops of water in your bowl to create a slightly thinned mixture.
Dip the tips of the pinecone scales (the "petals") into the paint, or use a paintbrush to lightly dab the white mixture onto the edges. You only want to hit the tips to mimic a light snow dusting.
While the paint is still wet, immediately sprinkle the entire pinecone generously with Epsom salt (for a textured, icy look) or fine white glitter (for sparkle). The paint acts as the glue.
Set the pinecones aside on parchment paper or an old newspaper and allow them to dry completely for several hours before handling or displaying.
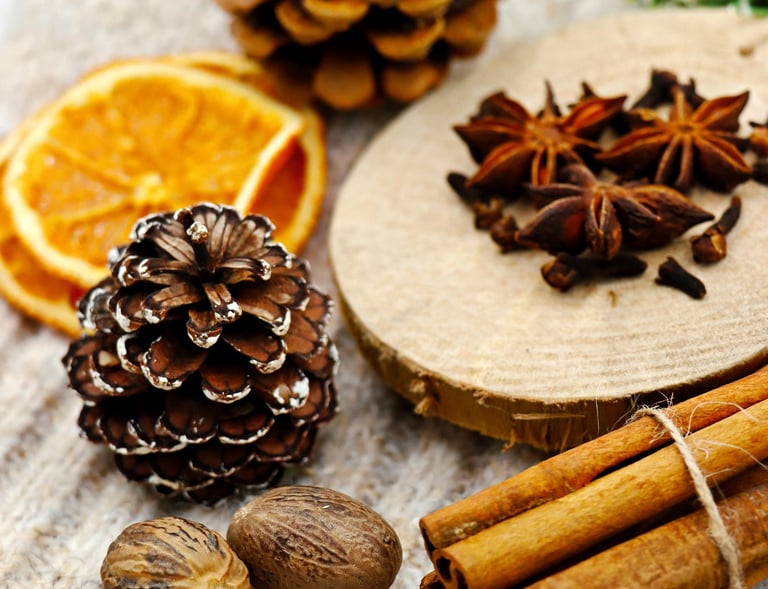
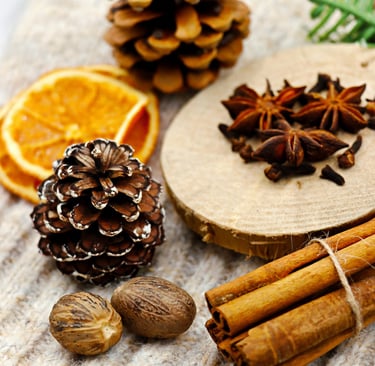
6. DIY Snowy Pinecones (Winter Wonderland)


Create easy, beautiful décor that fills your home with the classic scent of Christmas.
What You Need:
3-4 whole cinnamon sticks per bundle
Twine or thin ribbon
Small sprigs of artificial greenery (or real cedar/fir)
Hot glue gun
The How-To
Stack 3-4 cinnamon sticks together.
Wrap the twine or ribbon tightly around the center of the bundle and tie a knot on the back.
Tuck small pieces of greenery beneath the twine for a pop of color. Secure them with a dot of hot glue if needed.
You can hang these on your tree, attach them to wrapped gifts, or display them in a bowl on your coffee table.
🌟 7. Cinnamon Stick Bundles (Natural Décor & Scent)
🎨 Bonus Tip: Create a Crafting Corner
Set up a small space with all your supplies, a Christmas playlist, and some hot cocoa. It turns crafting into a relaxing holiday ritual you can enjoy with family or friends.
🎀 Final Thoughts
DIY Christmas crafts are more than just decorations — they’re memories you make. Every handmade ornament or gift adds a little love and personality to your home.
Start with one or two of these easy ideas, and soon you’ll have a house filled with cozy, festive charm.